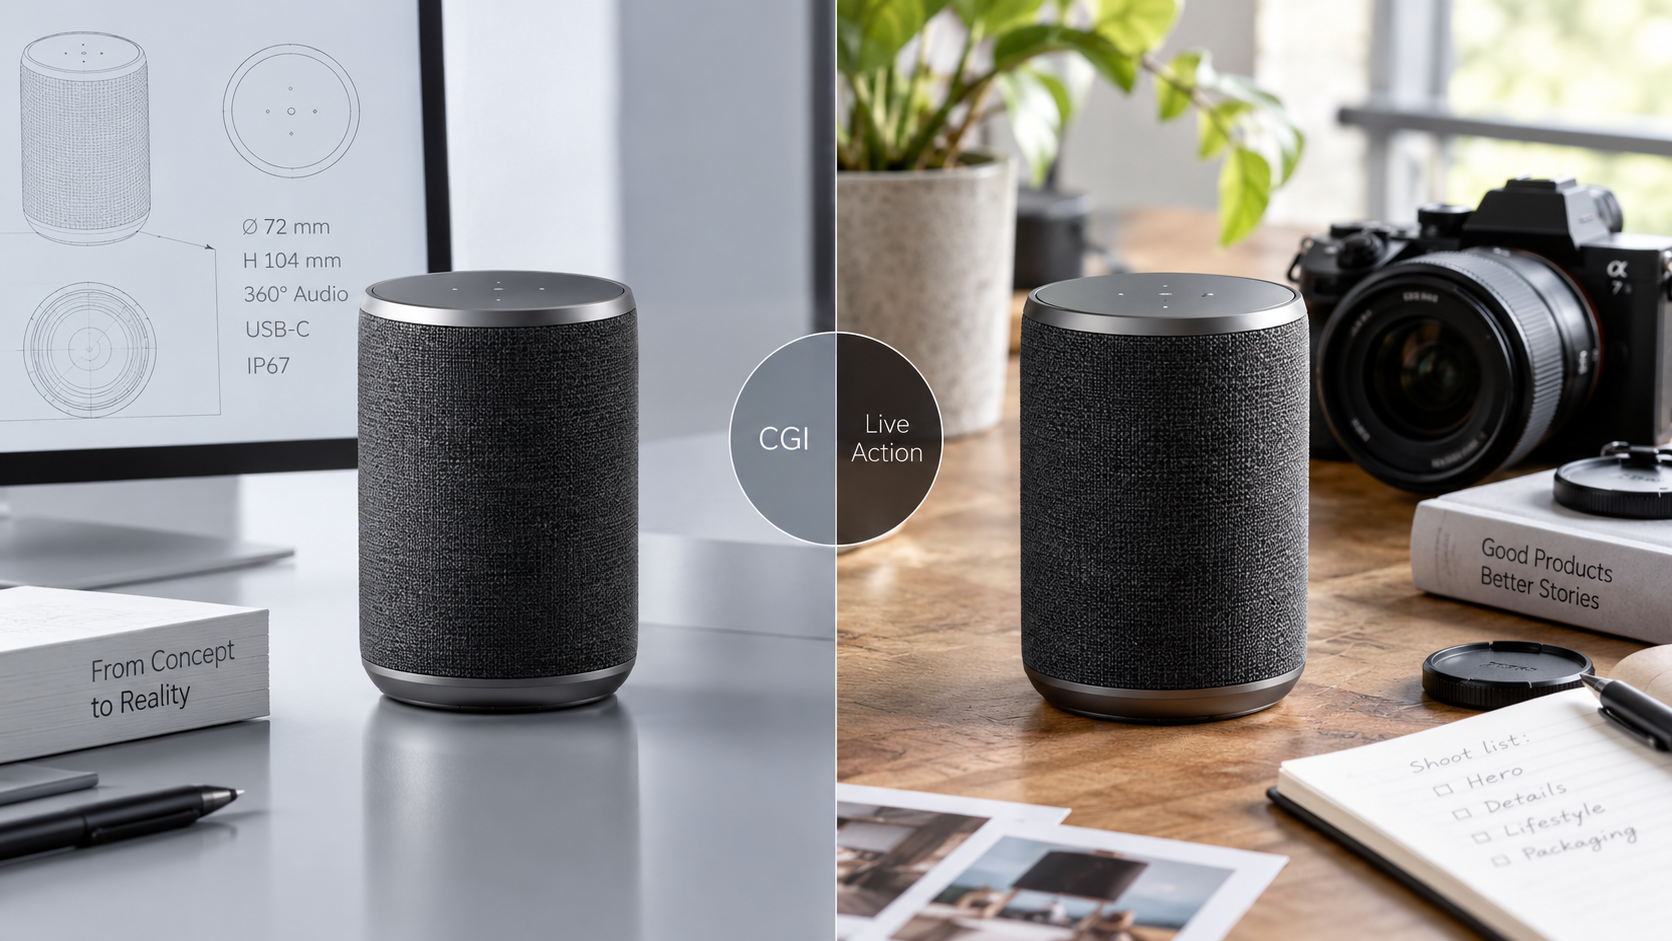
What to produce for a Kickstarter or Indiegogo launch, in what order, and when CGI beats live action - from a studio behind $28.8M in funded campaigns.
Contents6 sections
Your backer cannot hold your product. No weight in the hand, no texture under the thumb, no sound when it closes. All they have is what you show them - which means that, as far as their brain is concerned, your visuals are the product.
That framing comes from a conversation we had with Mark Pecota, CEO of LaunchBoom, about what separates renders that sell from renders that get scrolled past. LaunchBoom turned it into an article on the five mistakes that make product renders fail. This is the other half of that conversation: not what goes wrong, but what you actually need to produce, and in what order.
Because the first question founders ask us is almost always "how much for the campaign video?" - and it is the wrong question. A Kickstarter or Indiegogo launch is not one video. It is a set of assets, produced in a specific sequence, each with a job. Get the sequence wrong and you spend your production budget on the right things at the wrong time, which is the most expensive mistake in a launch.
We have produced campaign visuals for more than forty launches across Kickstarter, Indiegogo and BackerKit, which have raised roughly $28.8M between them. We are a Kickstarter Expert Partner and a LaunchBoom Expert Partner, and what follows is the order we use.
Why does the production order matter more than the budget?
Most founders produce as if the campaign page were the only destination. Then they discover the page is the last thing they need, and that by the time they reach it the budget is gone.
A launch has three stages, and each consumes a different kind of visual.
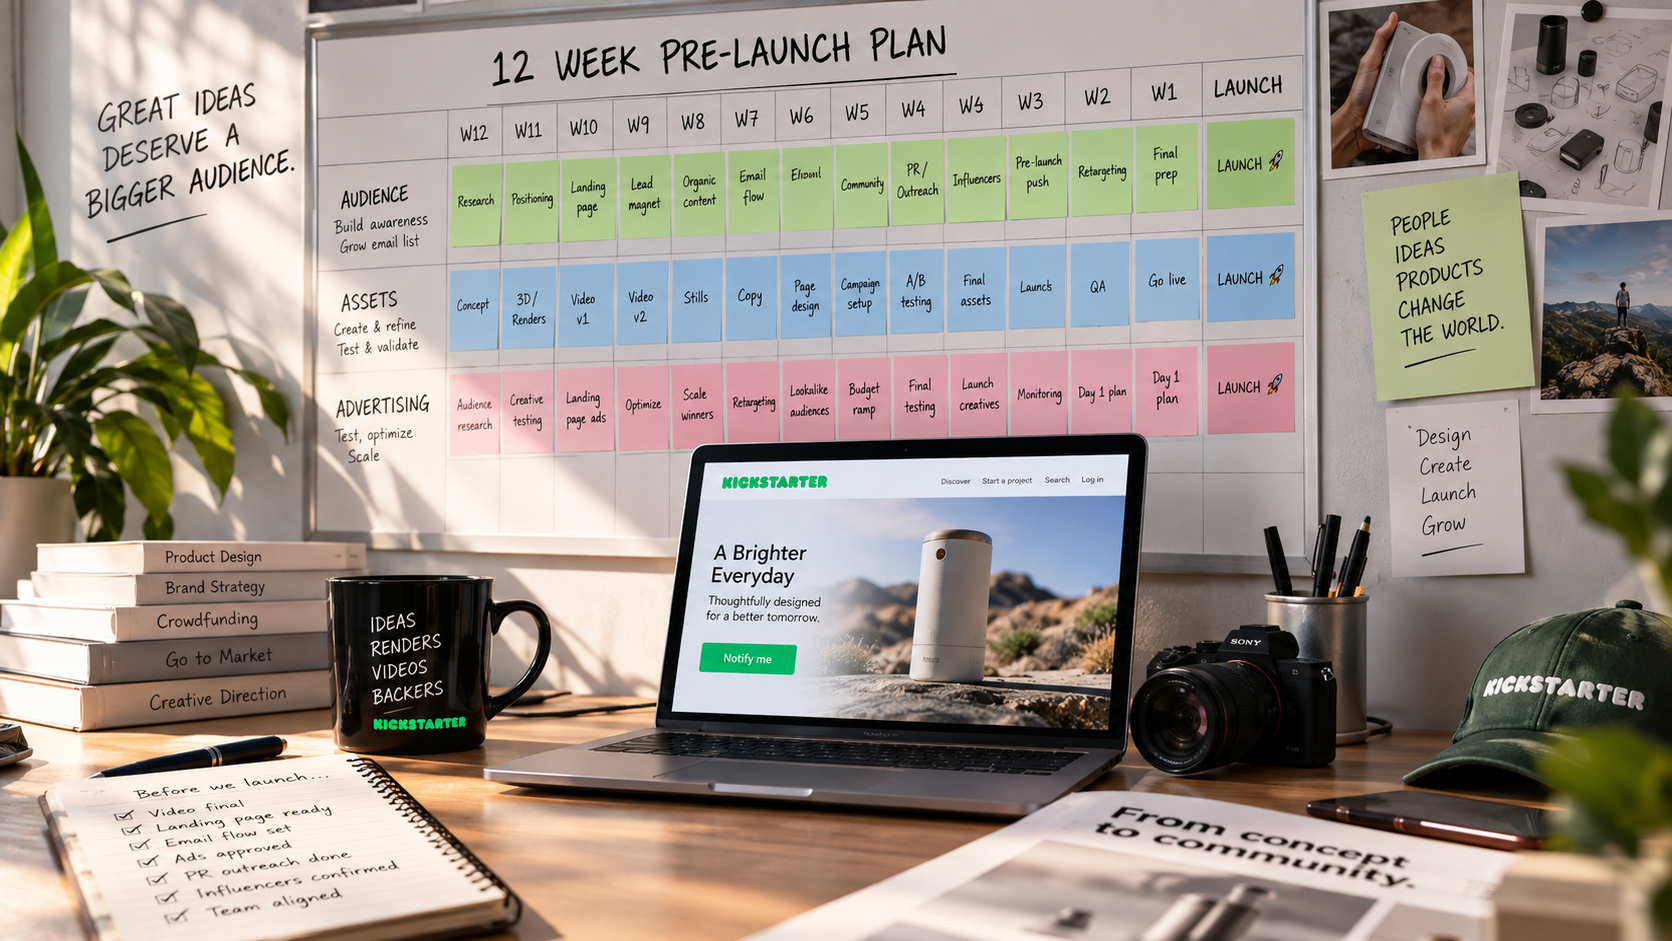
The pre-launch timeline is about collecting emails from people who do not know you yet. It lives on paid social, and it needs a small number of assets that survive being seen for one second on a phone. You do not need a finished campaign film here. You need one image that stops the scroll and a few seconds of motion.
Launch is about converting an audience you already warmed up. This is where the campaign page and the full video belong, and where the detail work - features, scale, technical clarity - starts paying for itself.
Mid-campaign is about holding momentum through the middle slump. It needs assets you have not produced yet, because they answer questions backers only ask once the campaign is live.
The mistake is producing stage-two assets during stage one. The discipline is producing the minimum that lets you test, then scaling only what the test proved.
The nine assets, in production order
1. The hero render
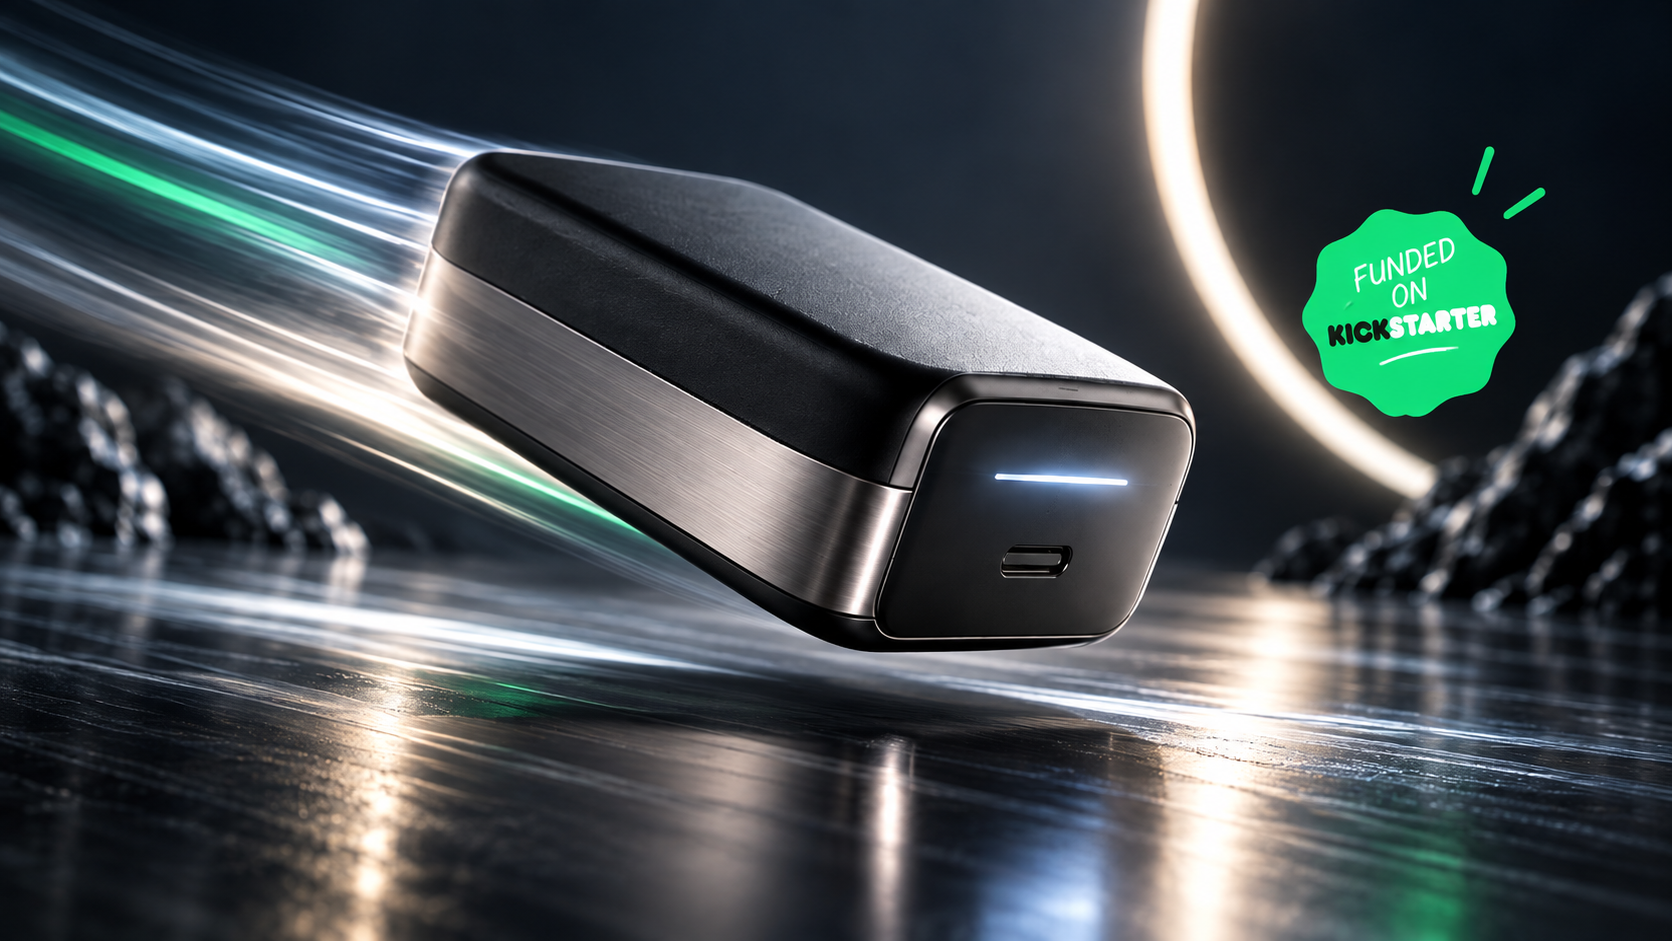
One image. The product, lit properly, at the angle that makes it legible in a fraction of a second. It becomes your ad creative, your campaign thumbnail, your press image, and the frame people remember.
When: first, before anything else. Approach: CGI, almost always. At pre-launch there is rarely a production-quality prototype to photograph, and CGI gives you angles and finishes a camera cannot.
This is the asset that makes a pre-launch possible for a product that does not physically exist yet - which was the situation on Kalmoa, a brain-analysing wellness device, and on Albero, a three-in-one nano air purifier. In both cases the audience was built on renders months before a unit could be held.
2. The pre-launch teaser
Eight to fifteen seconds, vertical, built to be understood without sound. Its only job is to earn an email address.
When: with the hero render, from the same 3D scene. Approach: CGI, or hybrid if you have a real environment worth showing.
3. The ad creative set
Three to five variants cut from the same master: different hooks, different first frames, different aspect ratios. You are not making five videos - you are making one and testing five ways into it.
When: pre-launch, as soon as the teaser exists. Approach: editing on existing assets. This is where a properly built CGI master pays back: variants cost hours instead of another shoot day.
4. The campaign video
Sixty to ninety seconds. Problem, product, proof, ask. The asset everyone thinks of first and almost everyone produces too early. If you want the structure beat by beat, we broke down the campaign video separately.
When: after pre-launch data tells you which hook works. Approach: usually hybrid - CGI for the product, real footage for people, hands and context.
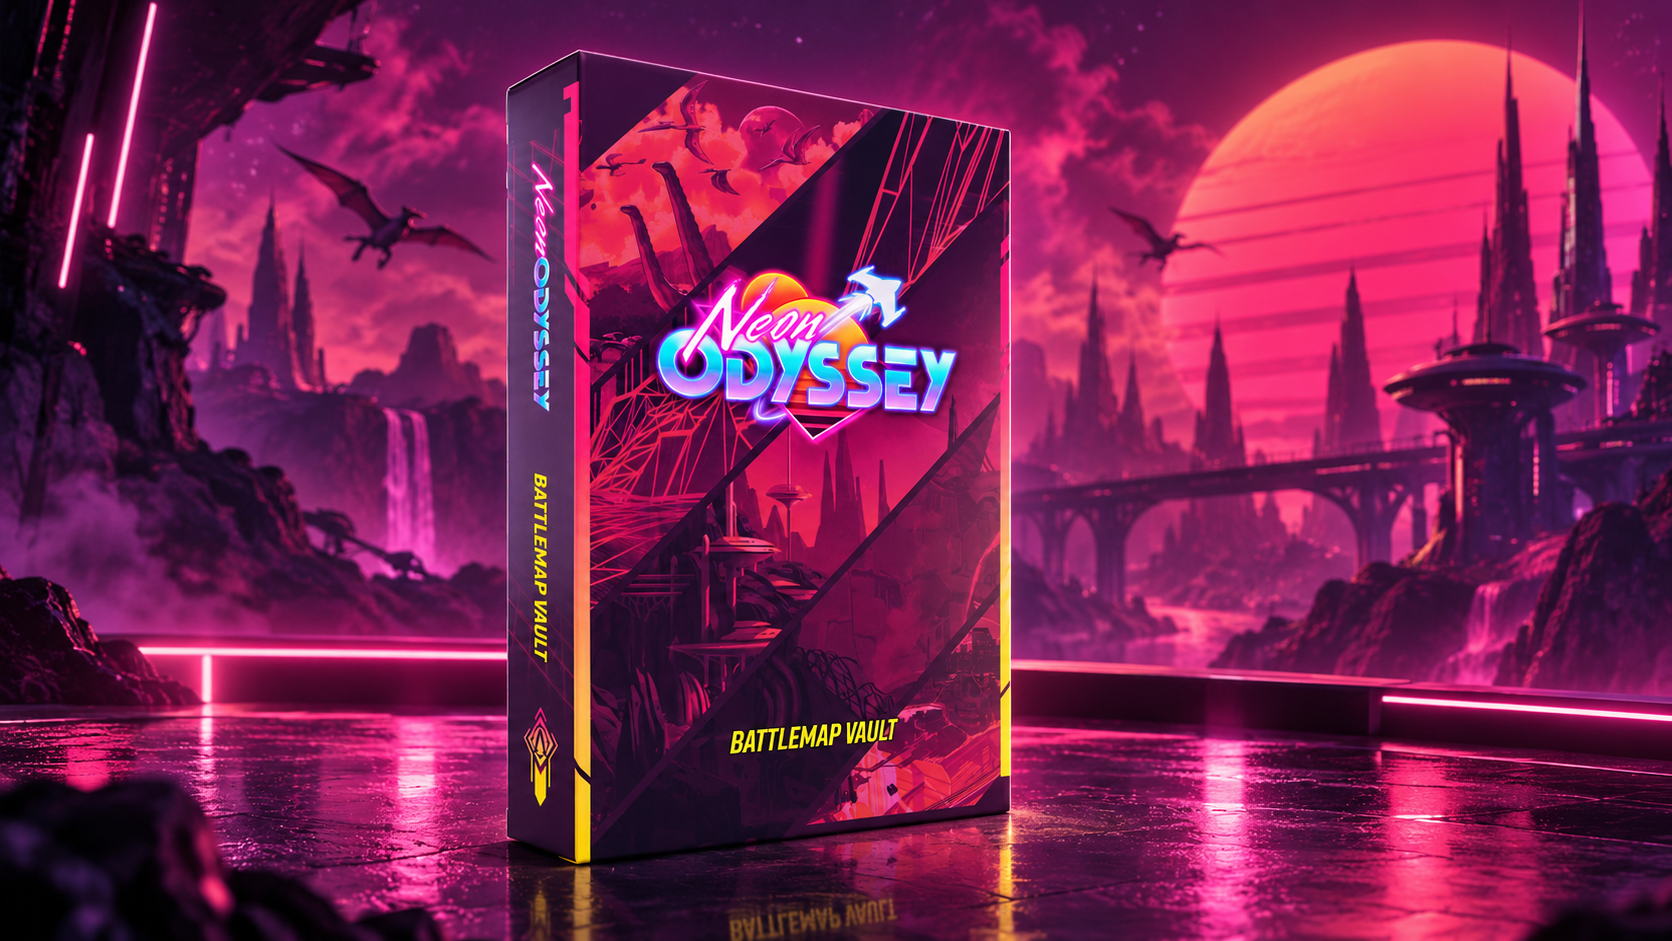
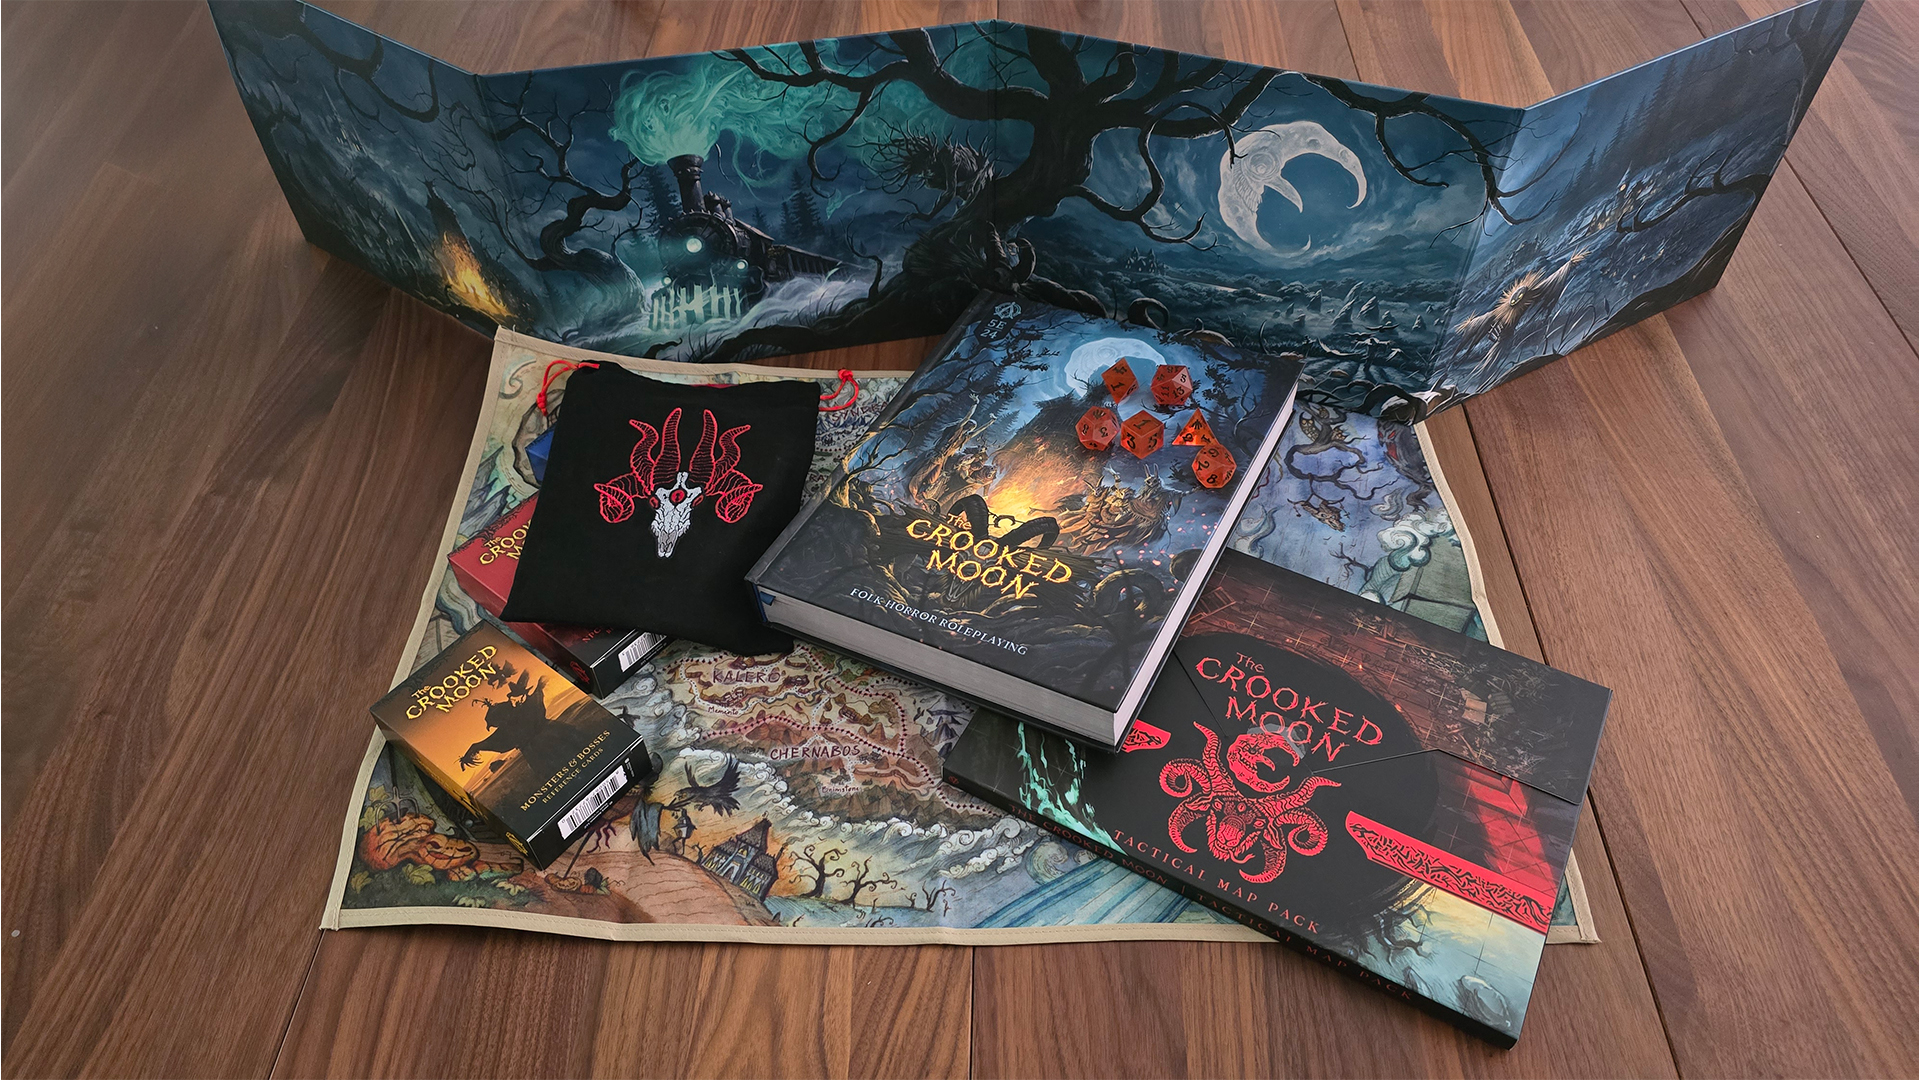
On tabletop campaigns the weighting flips: the world matters more than the object. We produced the visuals for Neon Odyssey, which raised $16,139,970 on Kickstarter, and The Crooked Moon, which raised $4,020,234. On both, the job of the video was not to show a box of components - it was to make a world feel like somewhere you wanted to spend time.
5. Feature stills
One image per claim. If your page says the battery lasts a month, there is an image that makes a month visible. These carry the middle of the campaign page, where backers move from interested to convinced.
When: launch. Approach: CGI, because you control exactly what the image isolates.
6. The scale and context shot
A hand, a desk, a pocket, a room. Backers systematically misjudge the size of products they have never seen, and "it was smaller than I thought" is a refund waiting to happen.
When: launch. Approach: hybrid. A real hand with a CGI product is the cleanest solution when no prototype exists, and far more convincing than a CGI hand.
The smaller the product, the more this asset decides the campaign. TRU is an ankle-based step tracker ten millimetres thick; the entire pitch depends on believing it disappears when you wear it. It raised $136,570 against a $7,000 goal.
7. The technical or exploded view
What is inside, how it assembles, why it is built the way it is. This is the asset that converts the engineer in your audience - and on hardware campaigns, the engineers are the ones who post in the comments and bring others with them.
When: launch. Approach: CGI, built from your CAD.
It matters most when the product claims to be several things at once. A six-in-one camping multitool or a five-in-one electric watercraft is asking the backer to believe something counterintuitive, and a sentence will not do it. An exploded view will.
8. The lifestyle sequence
The product in a life. Morning, commute, workshop, trail, water. The hardest thing to fake and the most valuable thing to get right, because it is where desire actually happens.
When: launch, or early mid-campaign. Approach: hybrid, and this is where the difference between studios shows. Real footage carries the environment and the human; CGI carries the product. Done well, nobody can tell where one ends.
Some environments simply cannot be rendered economically. Open water, steam, snow and moving light on a real surface are where live action wins - which is why campaigns like Propel, an electric watercraft, and Snowcap, a cold plunge, are shot and rendered rather than one or the other.
9. Mid-campaign assets
Stretch goal reveals, new colourways, the answer to the question that keeps coming up in the comments, the graphic for the milestone you just hit. You cannot plan all of these in advance - you can plan the capacity to make them.
When: during the campaign. Approach: reuse. If assets 1-8 were built properly, these take hours. If they were not, every update becomes a new production, at the exact moment you have no time.
Should I use CGI or real video for my crowdfunding campaign?
The honest answer is that the argument is mostly obsolete. Nearly every campaign we work on ends up hybrid, and the useful question is not which to pick but which to use where.
Use real footage when
- People, hands, faces
- Environments that cost more to build than to visit
- Proof that the thing physically works
- Testimonials and reactions
Use CGI when
- No production-quality prototype exists
- You need angles or cutaways a camera cannot reach
- The finish or colourway is not manufactured yet
- The design may still change
Use hybrid when
- The product has to live in a real place
- You need one shot to feel shot, and the product to look perfect
- You need many variants from one setup
- Reshooting is not an option
| Use real footage when | Use CGI when | Use hybrid when |
|---|---|---|
| People, hands, faces | No production-quality prototype exists | The product has to live in a real place |
| Environments that cost more to build than to visit | You need angles or cutaways a camera cannot reach | You need one shot to feel shot, and the product to look perfect |
| Proof that the thing physically works | The finish or colourway is not manufactured yet | You need many variants from one setup |
| Testimonials and reactions | The design may still change | Reshooting is not an option |
The decisive argument for CGI at pre-launch is not realism - it is revision. Products change between the first ad and the campaign page: a colourway shifts, a button moves, a supplier changes a finish. A render gets updated. A shoot gets shot again.
The decisive argument for real footage is trust. A backer who has never held your product is looking for evidence that it exists. One honest second of a real hand doing a real thing does more for credibility than thirty seconds of flawless render.
Hybrid production is how you get both, and it is why we build campaigns that way by default.
How much do crowdfunding campaign visuals cost?
Most studios will not publish this. We would rather you find out here than after three calls.
Timeline. A full set of nine assets is a six-to-eight week production from a usable CAD file. The hero render and teaser alone - enough to start pre-launch - can be ready in two weeks. These are not meaningfully compressible: modelling and material work are sequential, and the review cycles are what separate good from generic.
Budget. What moves the number is not the count of images. It is the complexity of the CAD you hand over, how many material finishes have to be built, whether there is live action, and how many revision rounds you want. A clean CAD file and one decision-maker on your side will save you more than any discount - and the single largest cost driver, in our experience, is starting production before the product design is frozen.
Can I use AI to generate my product renders?
Generative AI is genuinely useful at the front of this process. It is fast at exploring directions, at showing a team three moods before anyone commits, at producing the reference image that makes a brief unambiguous.
It is not useful as the deliverable, for a reason that has nothing to do with quality: it does not know your product. It approximates something that resembles it. On a crowdfunding campaign, where every image is an implicit promise about what will arrive in a backer's hands, a product that is nearly your product is a liability - and platforms and backers have both become considerably less forgiving about it.
Use it to brief. Do not use it to ship.
Start with the one image
If you take one thing from this: the order matters more than the budget. Produce the hero render and the teaser, run the pre-launch, find out which hook people respond to, and only then build the campaign video around what you learned.
Founders who work in that order spend less and raise more. Founders who produce the film first are guessing with the most expensive asset they own.
This article expands on a conversation with Mark Pecota, CEO of LaunchBoom. Their companion piece - 5 Mistakes That Make Your 3D Product Renders Suck - covers what goes wrong. This one covers what to produce.
IAS Creative is a CGI and hybrid production studio working with hardware, consumer-tech and tabletop founders on crowdfunding and e-commerce launches. Kickstarter Expert Partner and LaunchBoom Expert Partner. 40+ campaigns supported, $28.8M raised by the campaigns we have worked on. Rome and Los Angeles.
Book a 15-minute launch call - or See the work.
Frequently asked questions
What visual assets do I need for a Kickstarter campaign?
At minimum: a hero render, a short pre-launch teaser, a set of ad variants, a campaign video, feature stills, a scale shot and a technical view. Mid-campaign assets are produced during the campaign itself.
Should I use CGI or real video for my crowdfunding campaign?
Most successful campaigns use both. CGI handles the product, especially before a production-quality prototype exists; real footage handles people, hands and environments, and carries credibility that pure CGI cannot.
When should I produce my campaign video?
After pre-launch, not before. Pre-launch tells you which hook your audience responds to; producing the video first means committing your largest asset to a guess.
How long does it take to produce crowdfunding campaign visuals?
Two weeks for a hero render and teaser; six to eight weeks for a full asset set, starting from a usable CAD file.
Can I use AI to generate my product renders?
As a briefing and exploration tool, yes. As the final deliverable, no - generative models approximate your product rather than reproducing it, and on a campaign every image is a promise about what backers will receive.